While I was getting everything ready for the 'Photo Shoot' of My Strawberry Shortcake Printable Party Collection, I took some pics to show you how I used the printable files to make Cupcake toppers, Water Bottle Labels, Food Labels, Straw tags and Treat bags.
Here are some Essential Tools Required:
Paper Cutter - I really like the Fiskar Brand
Punches - I've had the Uchida Punches for a while and they work really good and my new favorite one is the EK Success Flourish Punch
Small hole Punches - For favor tags and straw tags
Lollipop Sticks and Small Envelope Seals for cupcake toppers
Double Sided Tape
8.5 x 11 White Cardstock Paper
Stapler for treat favor bags and
Printable Party designs from my Shop.
Cupcake Toppers:
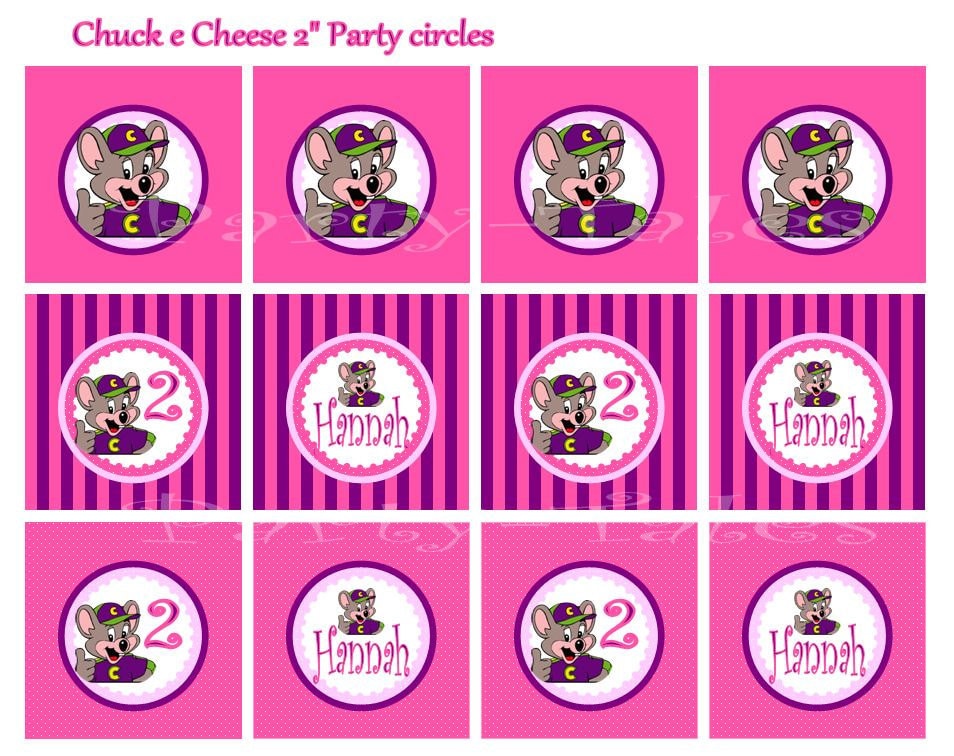
I printed my design on a 8.5"x11" White Cardstock Paper, and with the paper cutter cut out 3 separate strips. I used my 2" Scalloped and Flourish punches to cut out all the designs and attached to lollipop sticks with small envelope Seals.
You can use these same cutouts for favor tags, napkin rings and straw tags.
Treat Bags and Favor Tags:
These are the new printables now on the shop, I'm making Treat Bag Favor Labels for all of my designs. The file is designed to print two Treat Bags Favor Labels and four 2" tags that can be used to attach to favors, cupcake toppers etc...
I just printed my file on a 8.5"x11" Cardstock Paper. I used the 2" scalloped punch for the favor tags, made a small hole punch and attached to the Mini-Gumball machine with a small elastic string.
I filled my bags with the candy, fold over my treat tags labels and stapled on each end. I love how these ones in particular look with the strawberry candy. So cute!
Water Bottle Labels:
There are several ways to do this. You can either get Water Bottle Labels, a full size Sticker Sheet or for an easy and economical but still cute party just print in regular 8.5"x11" white copy paper, like I did, and attach to bottles with double sided tape.
I just serve the water at room temperature; but If you want to serve your water cold and don't have waterproof labels, you can still make them waterproof yourself with Clear packing tape :) Yes, the width of the tape is the exact width of the label. I've done it before and the bottles look good and the labels didn't get ruined when placed on ice, it's just more work - you will ruin a few labels for sure until you get the hang of it :) Just laminate both sides of the label with the clear packing tape, do it slowly to remove all the air bubbles.
Sweet/Food Table Labels:
Food/Sweet labels look adorable on your sweet or food buffet. All of my printable files are designed to print on 8.5"x11" size paper and customized with your own food/sweet selection. I just printed on White Cardstock paper, used my paper cutter and fold in half to make them stand up alone.
Lollipop and Straw Tags:
To decorate the lollipop I just took one of the 2" scalloped circles and layered it on top of a 3" scalloped cut out with double sided tape. For the Straw tags, I punched two small holes on my 2" cut outs and insert the straws through.
All of the tools required can be purchased at Michaels Stores or Walmart - they carry a lot of the craft tools as well. You can also visit the Craft tools Page of my store where I link my favorite tools that can be purchased online at Amazon.com
I hope you enjoyed my little Tutorial!


